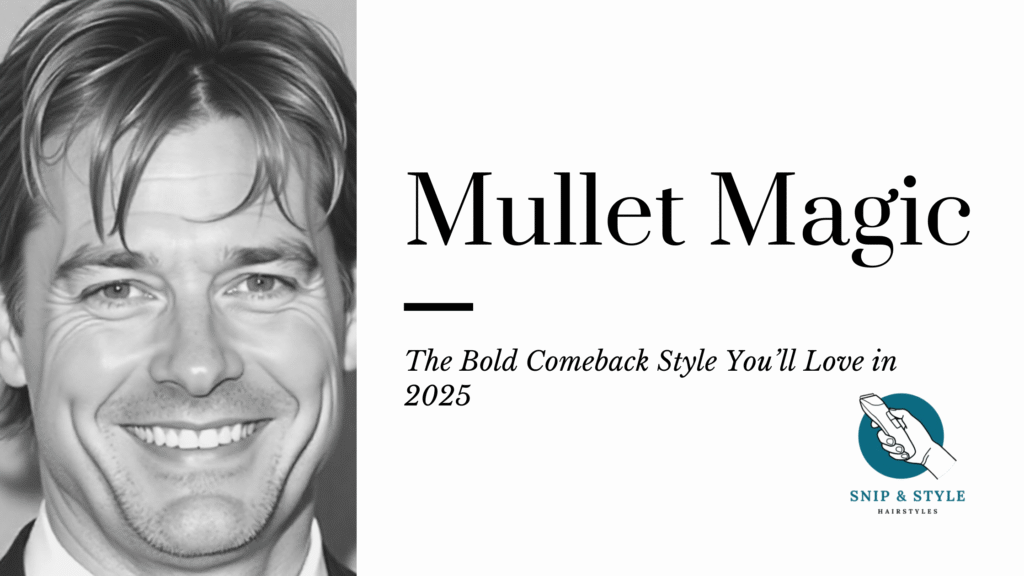
Table of Contents
Introduction
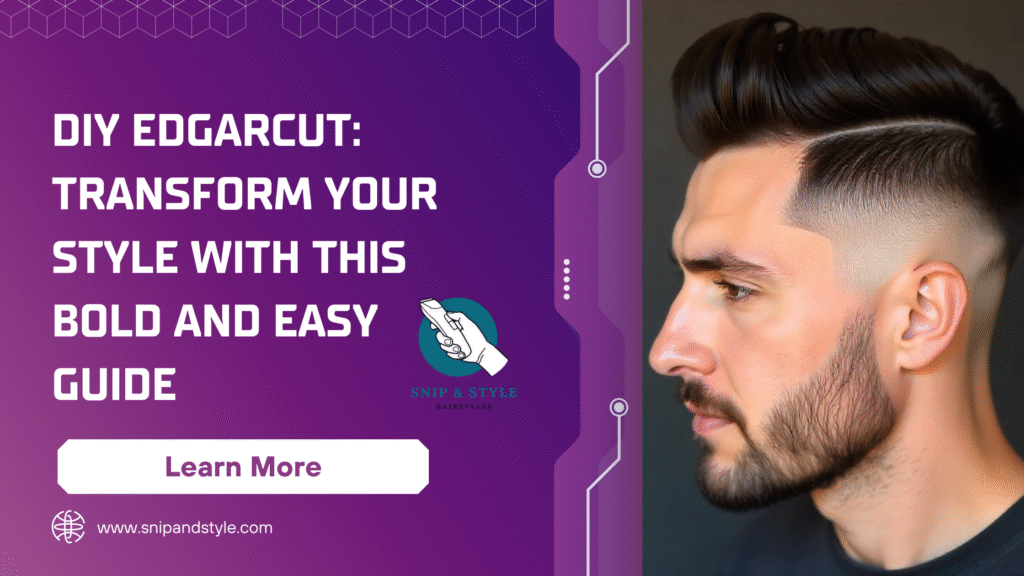
Hair to do without visiting the salon? The DIY Edgarcut will be the right way to go when one wants to feel out of his/her comfort zone and look bold and contemporary. The Edgarcut is a fashionable, casual hairstyle with sharp edges, clear layers, and an edgy appearance; however, the style can be tailored to suit any face shape and chosen style.
This tutorial will walk you through all the specifics you need to know about assembling the DIY Edgarcut, what tools you will work with, how to cut it in various stages, how to make it look good, and what the most common pitfalls you must avoid. At the end, you will be at ease trying this daring hairstyle yourself, and you will have a new, stylish, and noticeable appearance.
What is a DIY Edgarcut?
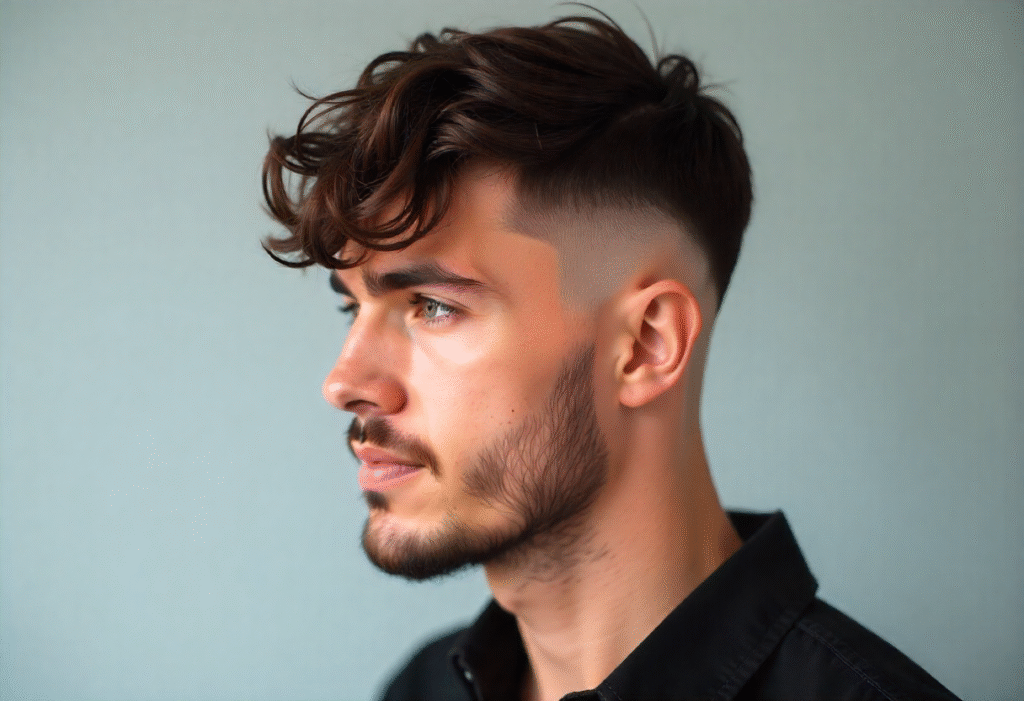
The DIY Edgarcut is a contemporary, punk-style of hairstyle, which focuses on sharp edges, defined layers, and a bold, structured appearance. The Edgarcut has shorter sides and a slightly longer top, giving you personality and confidence in the look. It is also flexible and can be adapted to either a smooth, shiny look or a rough, talisman appearance, unlike the conventional cuts.
The haircut has become popular due to its contemporary and daring look. The Edgarcut is an attraction to many people since it gives an appearance with minimal effort. A DIY Edgarcut at home also has the added advantages of saving time and money, the ability to customize it creatively, and the ability to test out your style to a degree that a trip to the salon does not require.
Why Try a DIY Edgarcut?
Attempting a DIY Edgarcut is associated with a number of benefits. The first is that it is very convenient and very cost-efficient without visiting the salon regularly. It also lets you customize the haircut to your face shape, hair texture, and style preferences so that you can be certain your appearance is all yours.
More than looks, it can be a confidence-booster to cut your own Edgarcut. With the knowledge of the techniques and another experiment with layers and fades, you are able to make decisions regarding your hairstyle. To trendsetters or style enthusiasts, a DIY Edgarcut provides an exciting and creative approach to being ahead of the world in the field of modern haircuts.
Tools You Need for a Successful DIY Edgarcut
One is supposed to have the necessary tools to be able to make a perfectly trendy DIY Edgarcut. Examples of simple tools are sharp scissors, hair clippers, combs, and styling gel, such as texturizing sprays or pomades. These will enable you to mould and layer your hair.
Its supplementary instruments, which comprise thinning shears, sectioning clips, and a fine-tooth comb, can also be helpful whenever using more advanced methods, enabling a cleaner and more professional result. Also, a factor is safety; do not hurry, work slowly, and use the correct means to ensure no uneven cuts or damage. Simple tools and preparation can make your DIY Edgarcut as slick and smooth as a salon cut.
Check Out: Long Pixie Haircut: Gorgeous and Trendy Style to Transform Your Look.
Step-by-Step Guide to Cutting a DIY Edgarcut
One needs the right plans to begin DIY Edgarcut, Sharp and stylish. Begin by bathing and towel-blotting your hair and having it neat and proper. Set up a well-lit workspace with a mirror and all your tools within reach. Isolate hair as a means to trim it more cutly and in a structured manner.
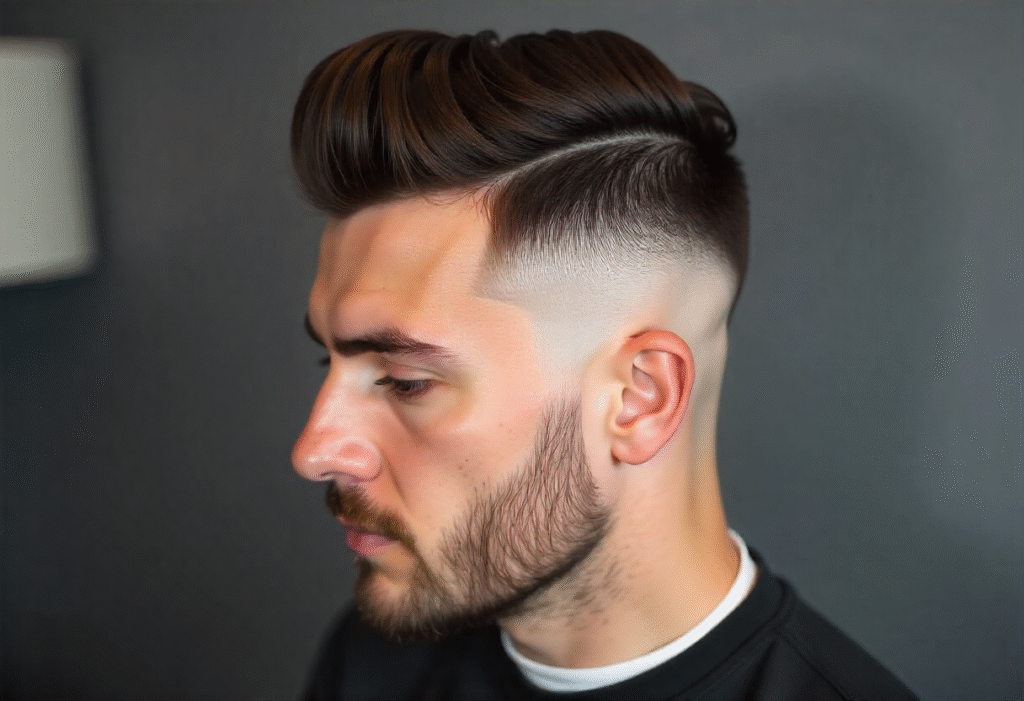
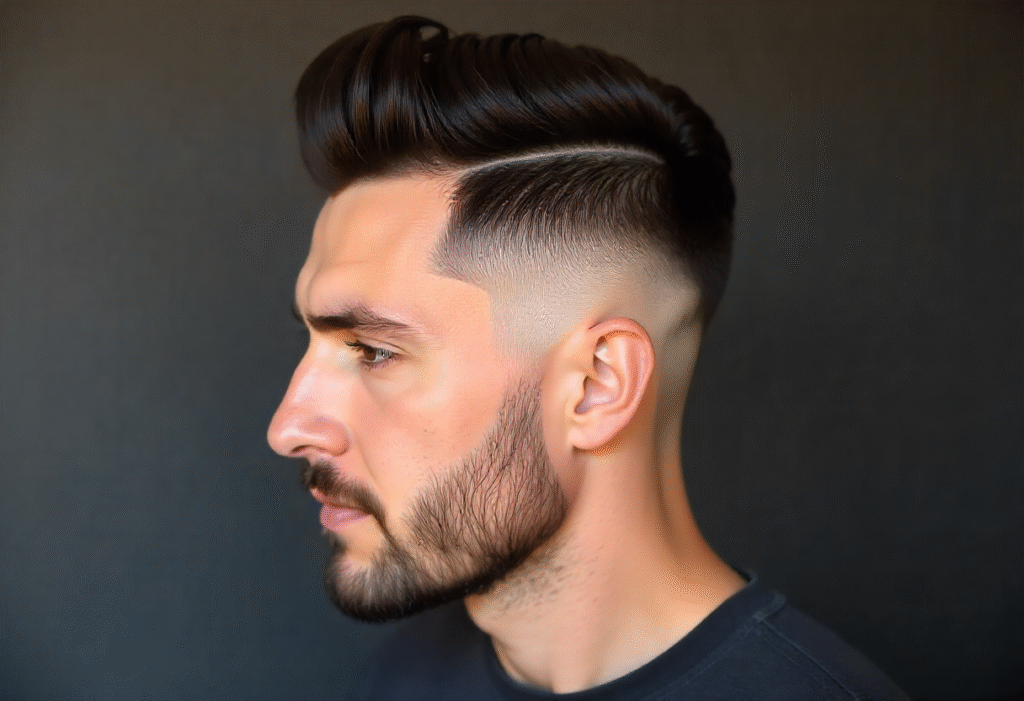
Working with the sides and back with clippers or scissors, cut to your desired fade or length. Carve to the top and create texture and volume with a layer at a time. Even a point-cutting or a slight texturing would contribute to the slapdash feel, which is so conspicuous in the Edgarcut. Finally, ensure that it is symmetrical, polish the edge, and use styling products in order to achieve a tidy, professional style.
Tips to Customize Your DIY Edgarcut
You can personalize an Edgarcut DIY to suit your face shape and your style. Change it to the length and fade that best fits your features- shorter sides give a more distinguished look, a bit longer top layers would be versatile. Layering or subtle point cuts have the potential to add texture to something, giving it an appearance of being messy and effortless, which is very modern and easy to wear.
You also have the option of trying some creative variations. Short Edgarcuts are statement dresses, whereas medium or textured versions have more options for wearing them on an everyday basis. Making your DIY Edgarcut personalized means it will match you and make you look natural.
Common Mistakes to Avoid During a DIY Edgarcut
The second error is usually made by taking the wrong direction or being too aggressive. You should take things slowly, remain calm, and use the correct techniques. Do not do it without having sharp and proper scissors or clippers because it is the only way to do it safely and effectively. To make sure that you come up with your DIY Edgar cut, which is professional yet bold and fashionable even at home, the following traps should be avoided.
Styling and Maintenance After a DIY Edgarcut
It only takes basic everyday processes to keep your DIY Edgarcut in great shape and appearance. Work on the texture, volume, and definition by lightly blowing the hair with your fingers or a comb. Stylus paste or hair wax, like texturizing sprays, pomades, or hair wax, can be used to maintain the shape and provide some shine and volume.
The Edgarcut lines and edges can only be kept sharp by regular maintenance. Hair trimming once in four to six weeks keeps the hair trimmed in a well-arranged and smooth style. A routine hair care regimen, including washing, conditioning, and heat or sun damage protection, will also keep your DIY Edgarcut bold, healthy, and defined.
Celebrities and Influencers with Edgarcut Inspiration
The Edgarcut is now a favored item among celebrities and social media influencers, and its versatility and contemporary trendiness prove its universality. Pop and social media celebrities such as Zayn Malik, Timothée Chalamet, and Instagram influencers have all showcased their versions of the Edgarcut, both smooth and rough and hard.
It is possible to obtain inspirational ideas about your DIY plan by watching how these personalities style their Edgarcuts. You can also modify professional styles at home by incorporating some techniques like adding texture, fading sides, or experimenting with length. A few crafts will see your home-made Edgarcut replicate the confident, trend-setting appearance of these legendary figures.
Final Thoughts: Transform Your Style with a DIY Edgarcut
The DIY Edgarcut is not just a haircut but a statement of confidence and creativity, and personal identity. The angular lines, distinct layers, and flexible styling possibilities make this contemporary haircut a chance to play with the edgy and stylish appearance from the comfort of your home.
With the right tools, methods, and trimming to fit your face shape and your personal style, you can easily have a professional-looking Edgarcut without stepping out of your house. With frequent repairs, hair care, and minor manipulations, your DIY Edgarcut will always be clean, fresh, and catchy to look at. This haircut is not only a style that is bound to change your image; it also makes you confident to dominate your appearance with confidence and glamour.
For more info: Click Here.
FAQs About DIY Edgarcut
Q1: Can Edgarcut be done at home and be safe?
Yes, a DIY Edgarcut can be safe on the condition that you apply the right techniques and tools. You should take your time, divide your hair into parts, and have sharp scissors or clippers used to cut your hair. One should not hurry and cut too much at once, because it may result in unequal outcomes. When a step-by-step guide is followed, it is a controlled, professional-looking product even in the home.
Q2: What is the time to attain DIY Edgarcut?
It will take you a different length of time to have an Edgarcut based on how long your hair is, its texture, and your experience. It may take an average time of 30 to 60 minutes to prepare, section, cut, and style hair. The point is to make it slow; then you are sure you will be right and less prone to a final error. The end product is sharp, clean, and smooth.
Q3: Is it possible to repair mistakes when my DIY Edgarcut does not come out perfectly?
Absolutely. Minor flaws, including asymmetries or slightly overcut areas, can sometimes be corrected by careful trimming with scissors or clippers, or sometimes blending. In the case of more serious mistakes, texture or layer can be added to cover up mistakes. Moreover, it is possible to enhance the overall appearance with the help of such styling techniques as toss, hair wax, or putting it back into place with a comb until your next haircut.