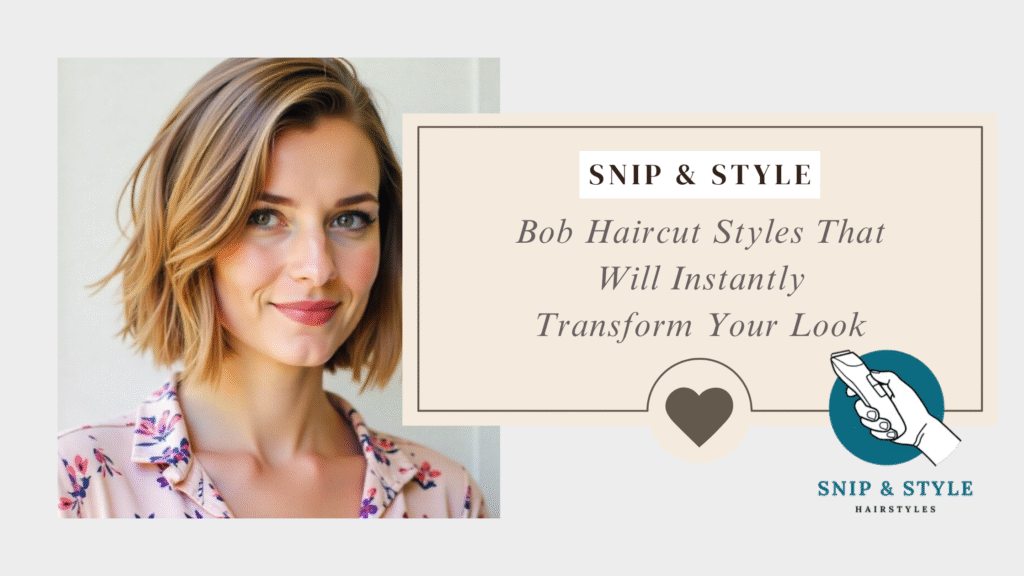
Table of Contents
Introduction:
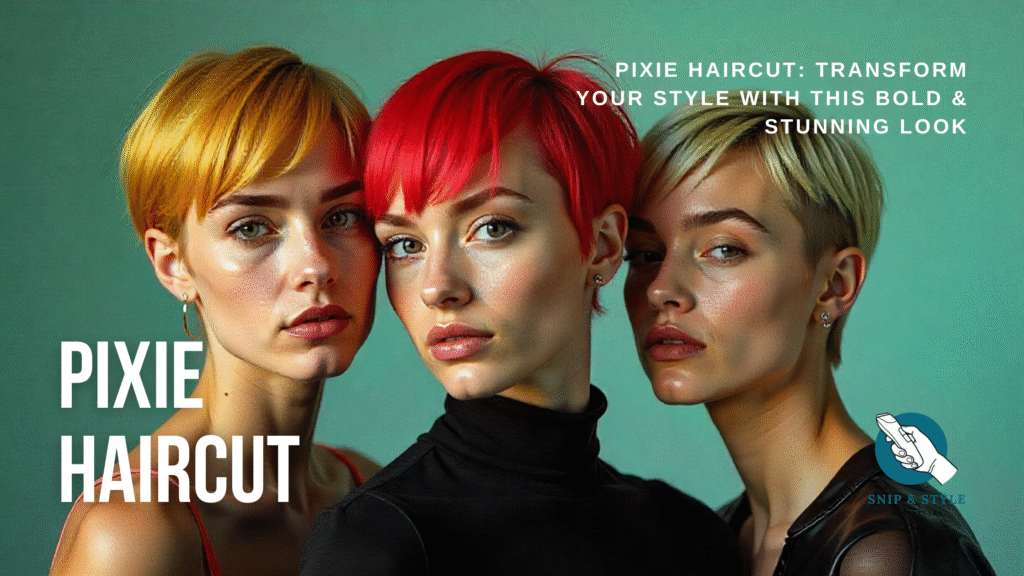
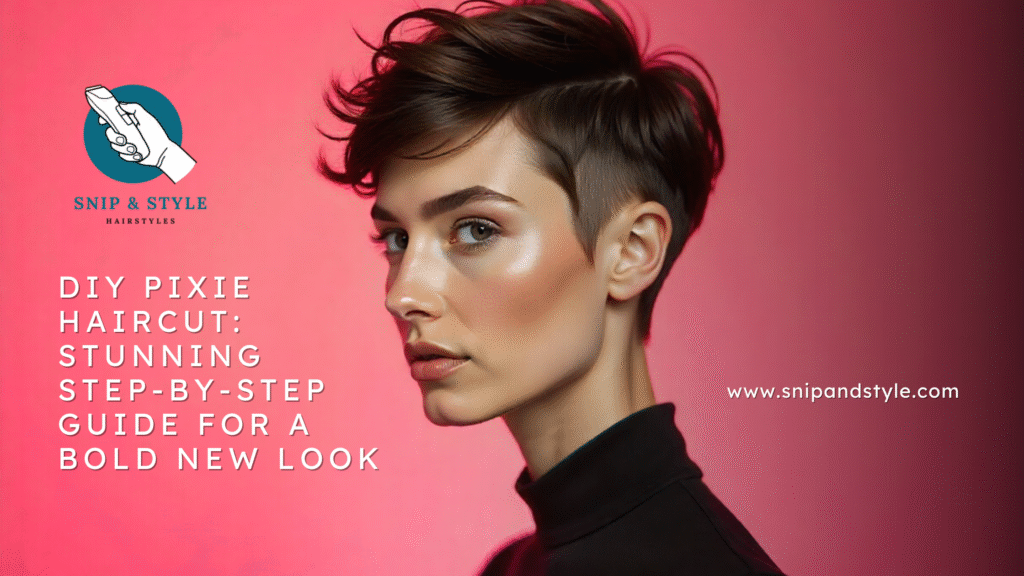
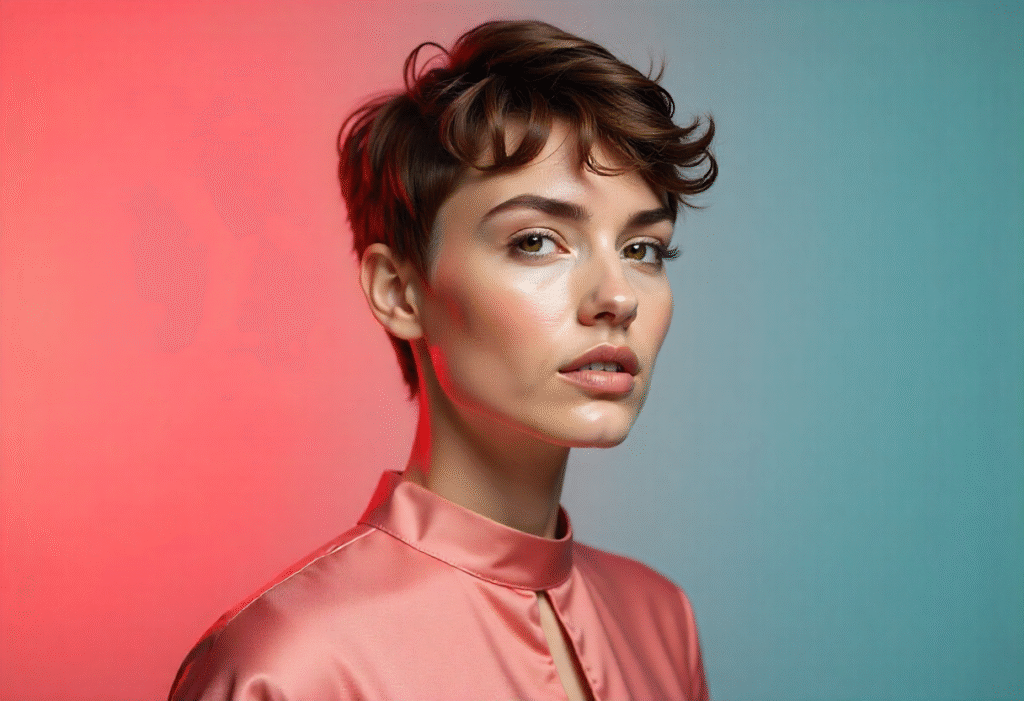
Want a fashionable new look but do not want to leave the house? A pixie haircut might even be a great choice for a DIY haircut. The short, textured hairstyle is trendy, chic, and comes with the surprise that it is versatile enough to help you explore your personality with pride. Whatever you prefer, a soft, feminine, and pixie or an edgy, modern look, it may prove to be empowering, cost-effective, and fun to cut your own pixie at home.
This blog will guide you through the DIY Pixie haircut process, the preparation, tools involved, hair-cutting procedure, and its maintenance. You will learn all the tricks and tips on how to create a professional-level hairstyle, a pixie haircut right at home, and get a bold new hairstyle that will surely win over attention, no matter where you are.
What is a DIY Pixie and Why Try It?
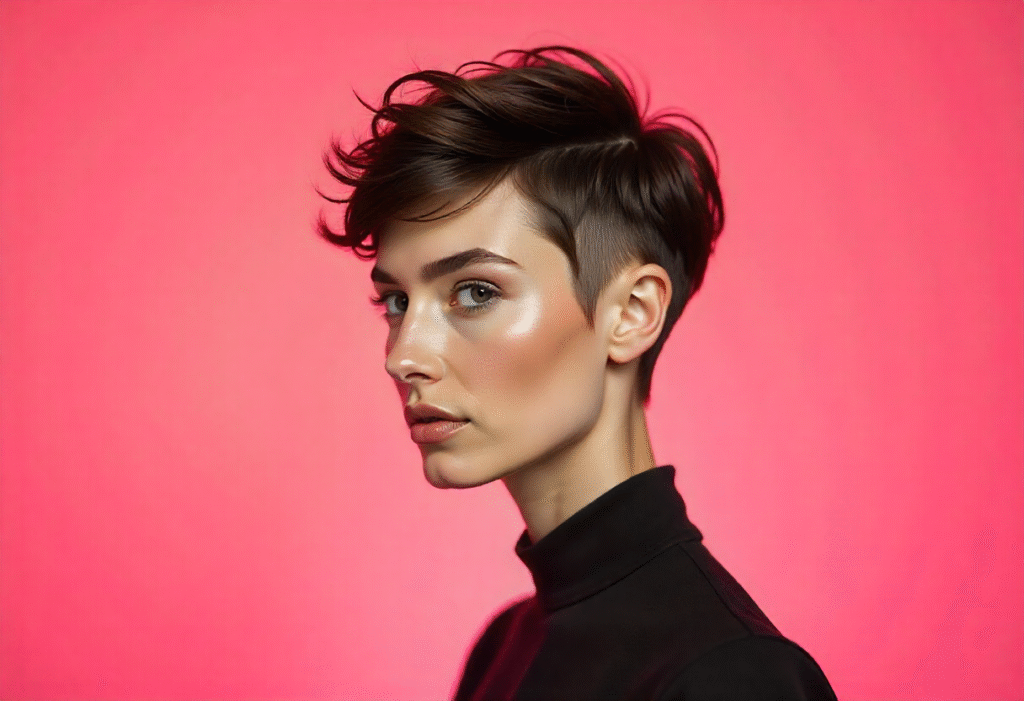
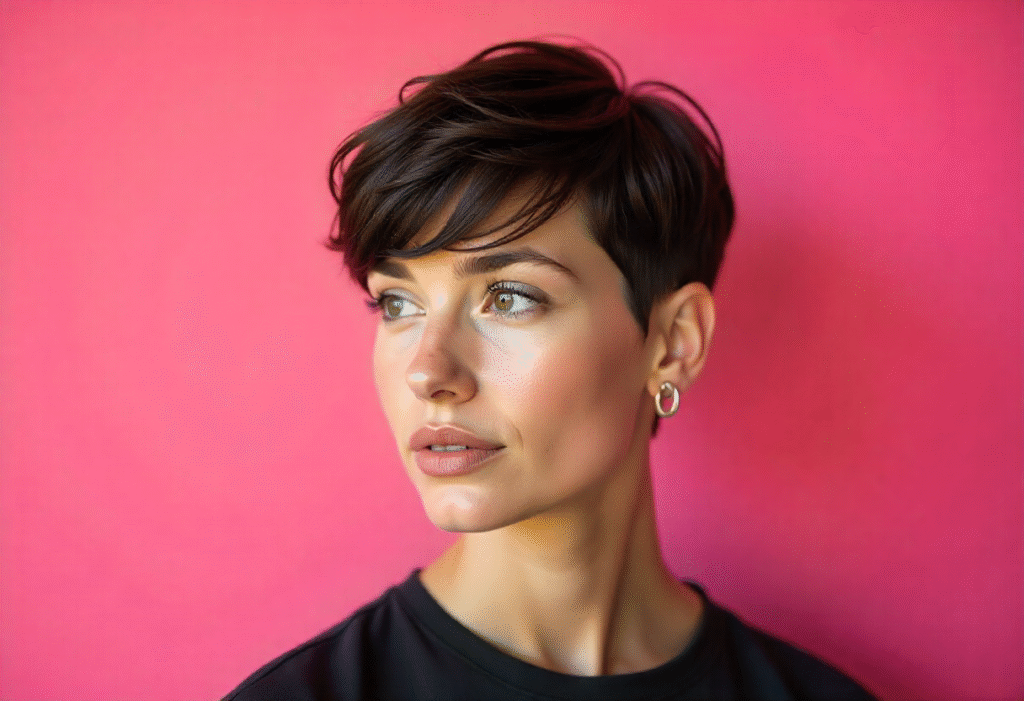
A do-it-yourself pixie is a textured, short haircut that is generally kept closely cropped on the sides and back with a bit longer lengths left on the top. This hairstyle is referred to as a lighthearted appearance of how people can adapt to fit any type of face or character.
The same can be said about the beauty of a DIY Pixie: it is very convenient and creative. Pixie cutting at home saves you money that you may spend on a salon, giving you the freedom to express yourself and the styling you want to get. In addition to the practical advantages, Pixie, created by yourself, can change your self-esteem, making you bold and fresh, thus making you look different in an easier and more definite way.
Tools You Need for a Perfect DIY Pixie
The right equipment comes into consideration in achieving a flawless DIY Pixie. Simple tools include sharp scissors employed in cutting hair, a fine-toothed comb, hair clips, and a hand-held mirror to examine the angles. To make it complete, it is also possible to provide some additional accessories like thinning shears that will allow adding some tension, a razor to add some additional textures, or a blow dryer or flat iron used as an instrument to style the hair.
It is possible to achieve a better result by choosing the corresponding product according to hair type, i.e., a texturizing spray to address fine hair and a curl cream to address wavy hair. Part of the investment that you put in good tools will allow you to cut smoother, give cleaner lines, and a more professional appearance that is more noticeable as a DIY pixie.
Preparing for Your DIY Pixie
To make the self-built Pixie fly. Firstly, wash and dry your hair; it is easy to cut and mold when dry. You can also clip your head into easy manageable parts, and the guide will assist in controlling and accuracy in cutting. Keep the area illuminated, keep a big mirror, better in a place where you can easily move around and see the hair in various directions. Safety, patience, good, sharp scissors, do not attempt to patch until you can afford it on small areas. Given proper preparations and staying cool, an experience of home hair-cutting, such as the pixie haircut, can be done with a minimum of pain.
Step-by-Step Guide to Cutting a DIY Pixie
The thought of DIY Pixie at home may inspire concern, but take these steps, and you will have the outcome as the salons would.
- Step 1: Part your Hair
- Begin with sections of hair that give you control of the hair. Vivid sections make working more accurate and organised since you will not be missing any strands. You should normally separate the hair at the crown, the sides, and the back using clips, ensuring that all the sections are even. Spend time making clean and sharp parts, as perfect slicing is what forms the base of a well-balanced and composed pixie hairstyle.
- Step 2: Begin the cutting of the back
- Start by cutting back to the section between the trunk and main branch, removing little parts at once to keep it clean. Use fingers or a comb that would to help maintain uniformity of length in the back. Haircut in thin layers will achieve a natural and blended look. It is important to continually have a look at the length with a mirror at the back to ensure that it is even and symmetrical.
- Step 3: Cut the sides.
- Next, reach to the sides. You can layer or thin the hair to get a balanced and flattering appearance. Trim slowly, and make both sides the same width. Symmetry is important; thus, it is good to compare lengths regularly and make corrections. Slow work can also help avoid the typical bad habits of uneven layers or too short spots.
- Step 4:Top and Crown titles
- The top and the crown may be textured and volumed. Cut the hair in medium and short-layer styles, leaving the hair not flattened. Select your size according to the face shape: the shorter parts are dramatic and require not much effort to form; the longer parts are softer and are easy to play around with. The vacant places curves are embellished with stages on the top, which add to an advanced effect and make the pixie lively and fashionable.
- Step 5: The Finishing Touches and Styling
- Blend all the layers and smooth the edges so that a smooth effect can be achieved. Thinning shears or point-cutting can further be employed to take away the harsh line and allow a flow of movement. Apply some light texturizing spray, pomade, or cream to create some layers to your new pixie and to make the look shiny. All these finishing touches will make your DIY pixie look like it was professional, brand new, and immaculate to help drive the statement home.
Check Out: Taper Fade Haircut: Transform Your Style with This Timeless & Bold Look.
Common Mistakes to Avoid During a DIY Pixie
It is simple to mess up a DIY Pixie, but being aware of what to look out for can prevent having bad haircut experiences. Excessive cut, or the existence of uneven layers, is one of the most widespread mistakes, and the hairstyle can look slovenly or out of balance. Another common error is the lack of such tools, as well as the omission of sectioning techniques that result in uneven lengths as well as asymmetry.
The silver lining is that even small errors usually can be corrected with a little bit of close clipping and blending of unlevel areas and/or by use of thinning shears to dull jagged edges. Slowing down and inspecting your work in varying directions will get you looking sleek and professional.
Styling Your DIY Pixie After the Cut
Even a DIY Pixie can make dull hair look gorgeous. This handy tool can be applied alone and combined with other products to create a daily wear look. Simply rough your layers up between your fingers to allow the buildup of product to create a textured look and the appearance of volume.
It is also vital that whatever you apply to your hair suits your type of hair, given that heavy products like waxes and mousses should not be used as they add weight to your light to medium hair. A clean head of hair can do better with texturizing sprays or light pomade, wavy hair can do better with curl creams or volumizing mousse. Your pixie has options to switch between casual and elegant, but in easy steps; a night out might need some ironing or even a little bit of shine using the balance serum. These styling tips will transform your DIY Pixie look to look stylish, contemporary, and wa-so-chic.
Maintaining Your DIY Pixie
DIY Pixies have easy maintenance protocols that assist in keeping a DIY Pixie in good condition. Regular haircuts in four to six weeks should maintain them in good shape and make sure that neither of the straws grows out of control. We cannot leave caring about the hair behind; nourishing shampoos and conditioners should be applied in order to make the hair soft, shiny, and healthy. The short cuts also evolve in the hair growing out process–allowing you to add layers or alter the texture of hair without losing the overall control. Along with constant and proper grooming and cutting regimes, your pixie should stay fashionable and styled up, be it a short-term or a long-term hair growth.
Conclusion
A DIY Pixie haircut is not just a hairstyle; it is a statement that showcases confidence, creativity, and individuality. The textured layers and the adjustable styling ability of a pixie will give you a makeover without having a hard time with its maintenance. With a little time investment into following a step-by-step process, you can easily master a professional-grade cut at home and save money on salon costs.
DIY pixie allows you to discover yourself, and discover what suits your culture- do you prefer a gentle and girlish look, or are you interested in something artistic and bold? With the appropriate equipment, planning, and skilled use, the amateur is capable of producing a haircut that will balance his or her face and suit his or her lifestyle. There are a few tricks to styling your pixie; you just need some light-weight texturizers, pomades, or curl cream to give your hair the finished modern appearance.
Maintenance of the Pixie is a walk in the park, too. Care, like cutting regularly, proper care, and mere coloring of hair, will ensure that the haircut looks imminent and vibrant, and full of personality. The benefits of a DIY Pixie go beyond practical reasons; being able to make your own hair decisions gives you control of your own hair and lets you individualize with trends and ideas in hair styling to empower yourself with self-confidence.
Essentially, DIY Pixie is not only a hairstyle; it is a cool, creative/empowering style to look boldly different. By exercising restraint, time, and effort, and by using the suggestions as outlined in this guide, you can effectively rock a pixie haircut and turn heads, and represent your own style.
For more info: Click Here.
FAQs
Q1: But I have never cut my hair before, could I DIY a Pixie cut?
Yes! Going DIY with a Pixie is not so tough to do as long as you have the right steps to follow. First, you are to choose sections under which you will cut your hair and cut only a small part at a time. Avoid errors by making use of sharp, professional-quality scissors and mirrors to inspect your angle in all directions.
One should start with long pieces and cut them bit by bit so that he/she can modify the length according to the need. Patience and care are what will help get a neat and stylish pixie, even despite a lack of experience.
Q2: What is the correct length and style that befits my face shape?
Style and length are the most important factors in a flattering DIY Pixie. In case you have an oval face, it is difficult to go wrong with the pixie styles. Appealing heart-shaped faces fit side-sliced strands that smooth the forehead. Squared faces are good candidates for textured or asymmetrical layering to level the squared jaws.
Round faces will gain a longer effect by adding volume at the top and maintaining longer layers in and around the hair on the face. Think about your hair type and lifestyle, and tailor top and side lengths to your specifications to end up with a pixie that perfectly covers your features.
Q3: What can I use at home to make my DIY Pixie look salon-finished?
Your DIY Pixie would not be complete unless you apply products to show you the finished look of your hair. Thin hair is the safest choice, so that texturizing spray or a light pomade that adds volume and structure to layers could be used. On curly hair or waves, the curl creams or mousses can take advantage of the natural texture and de-frizz it. Shine serums or finishing sprays improve the kind of gloss in your pixie, making it look shiny and healthy.
Even with a few products and stylish hair, a few hair strands pressed out with their fingers or with the help of a diffusion appliance can make your home haircut professional and easy to do.